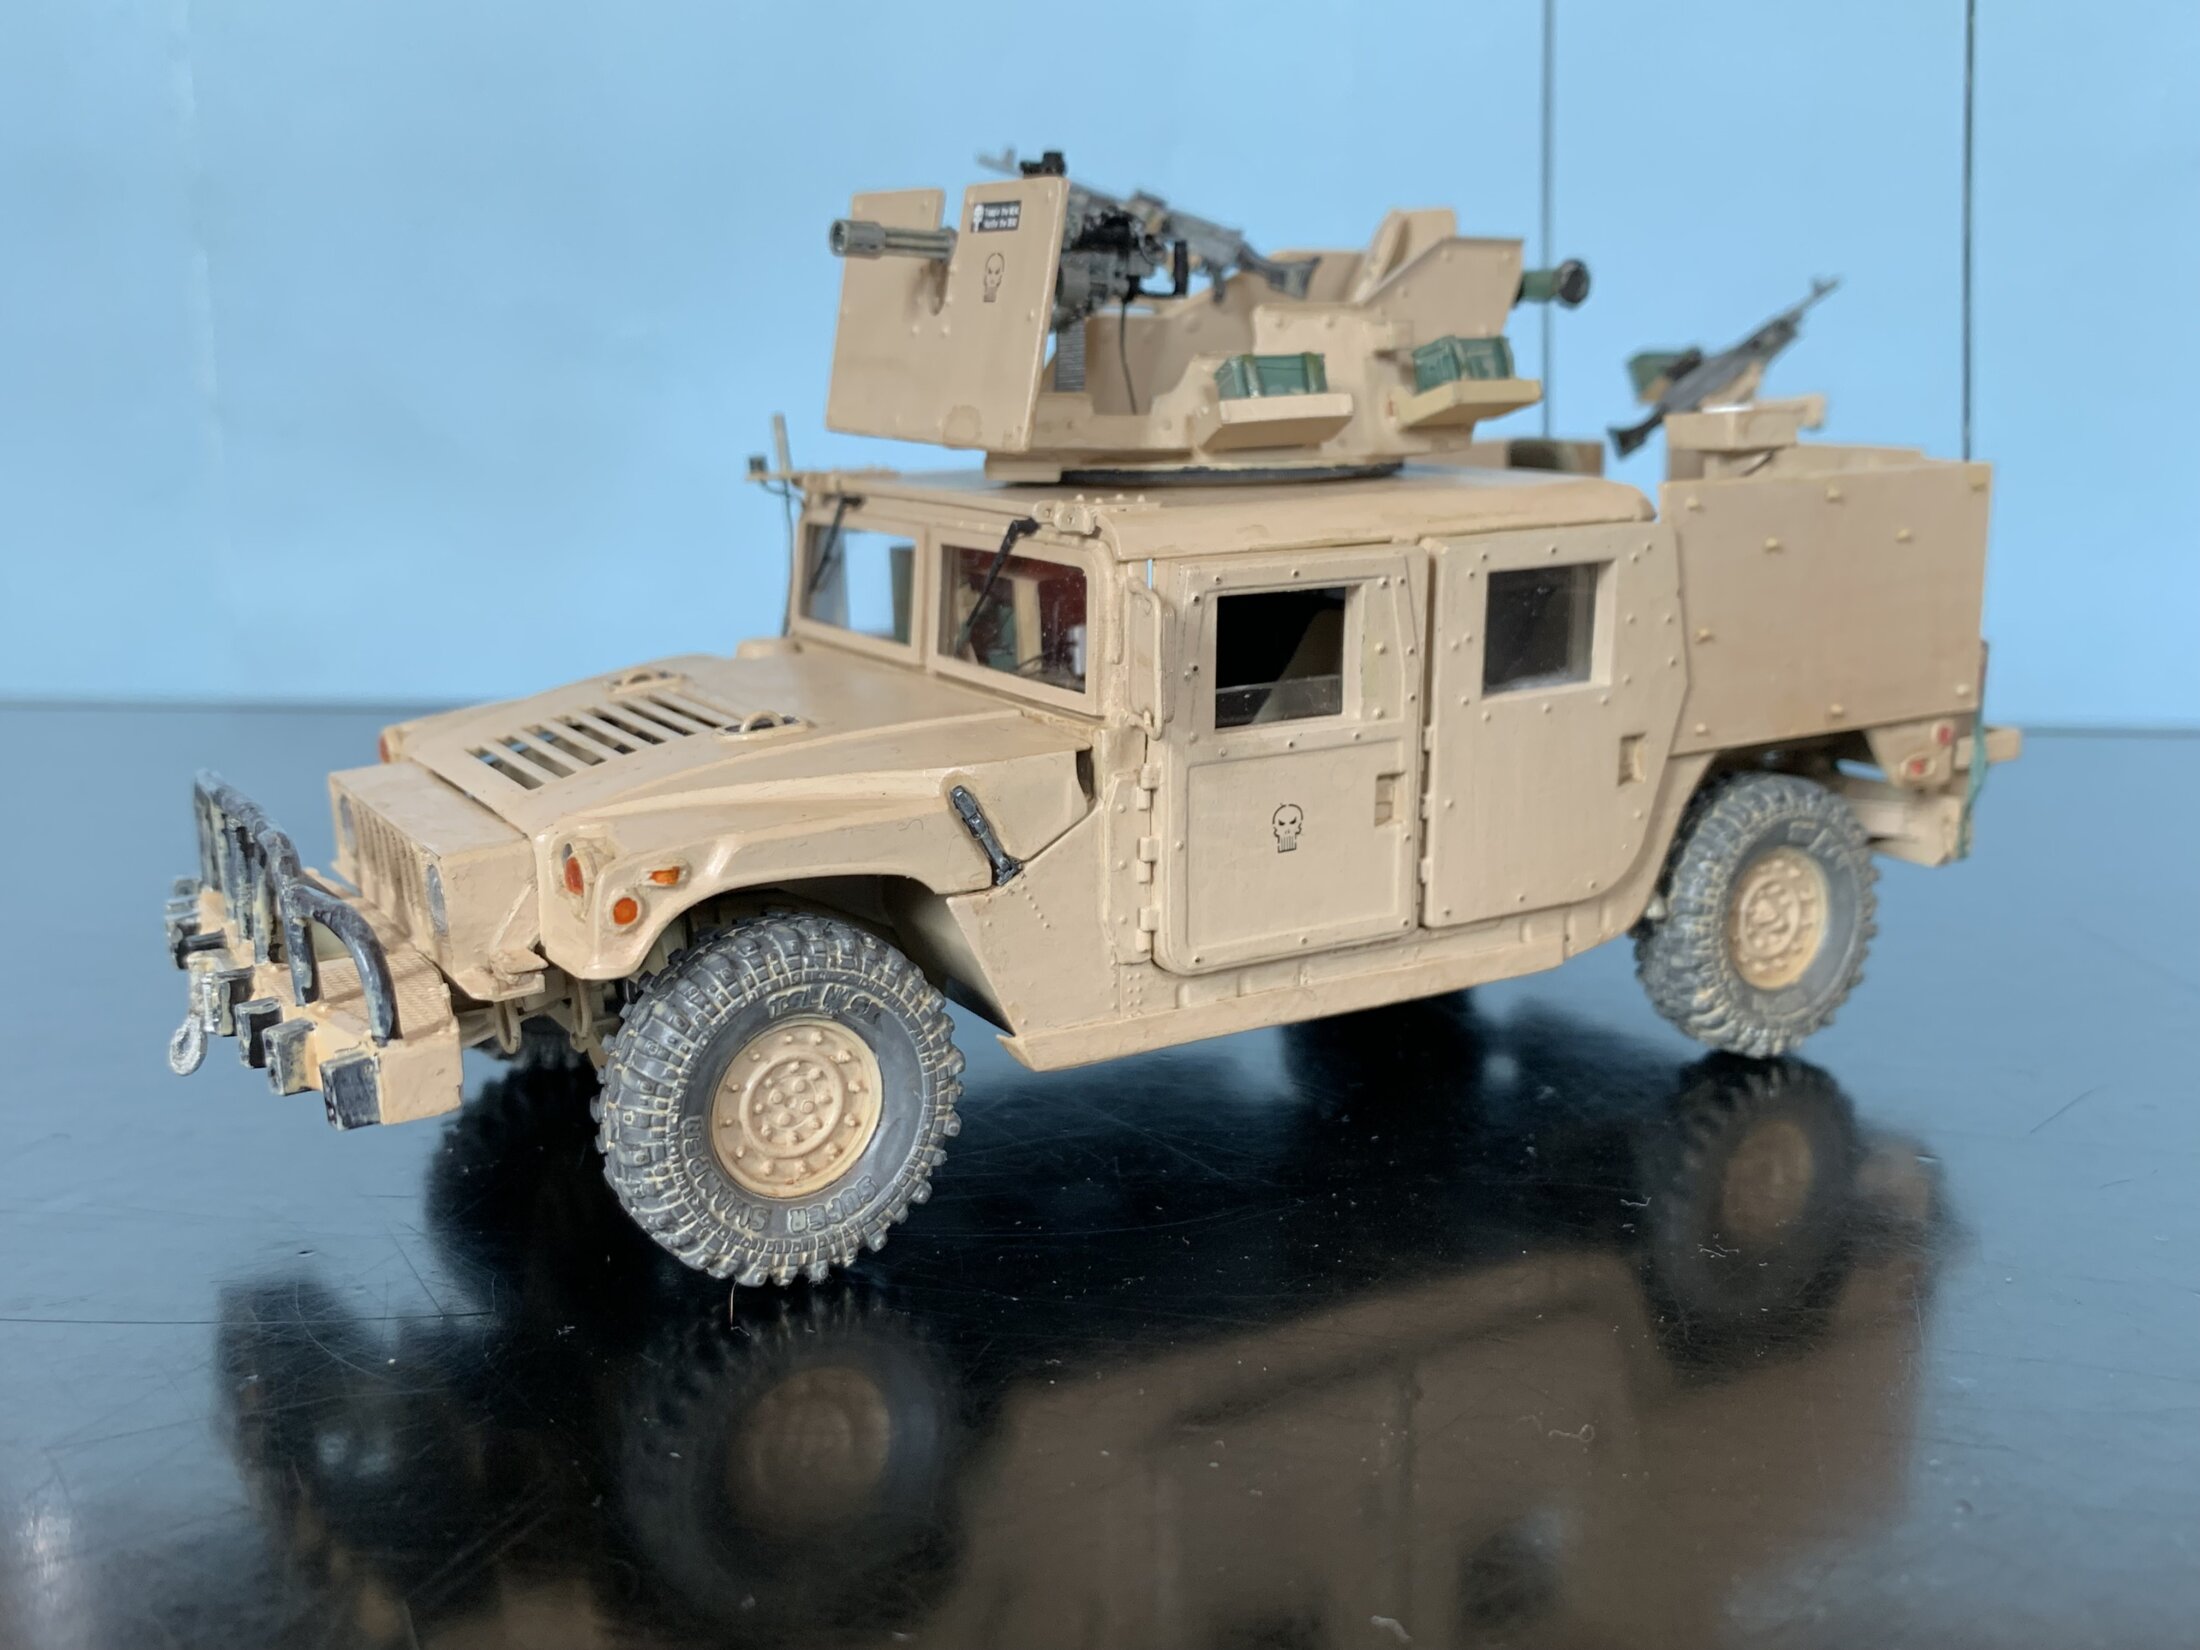
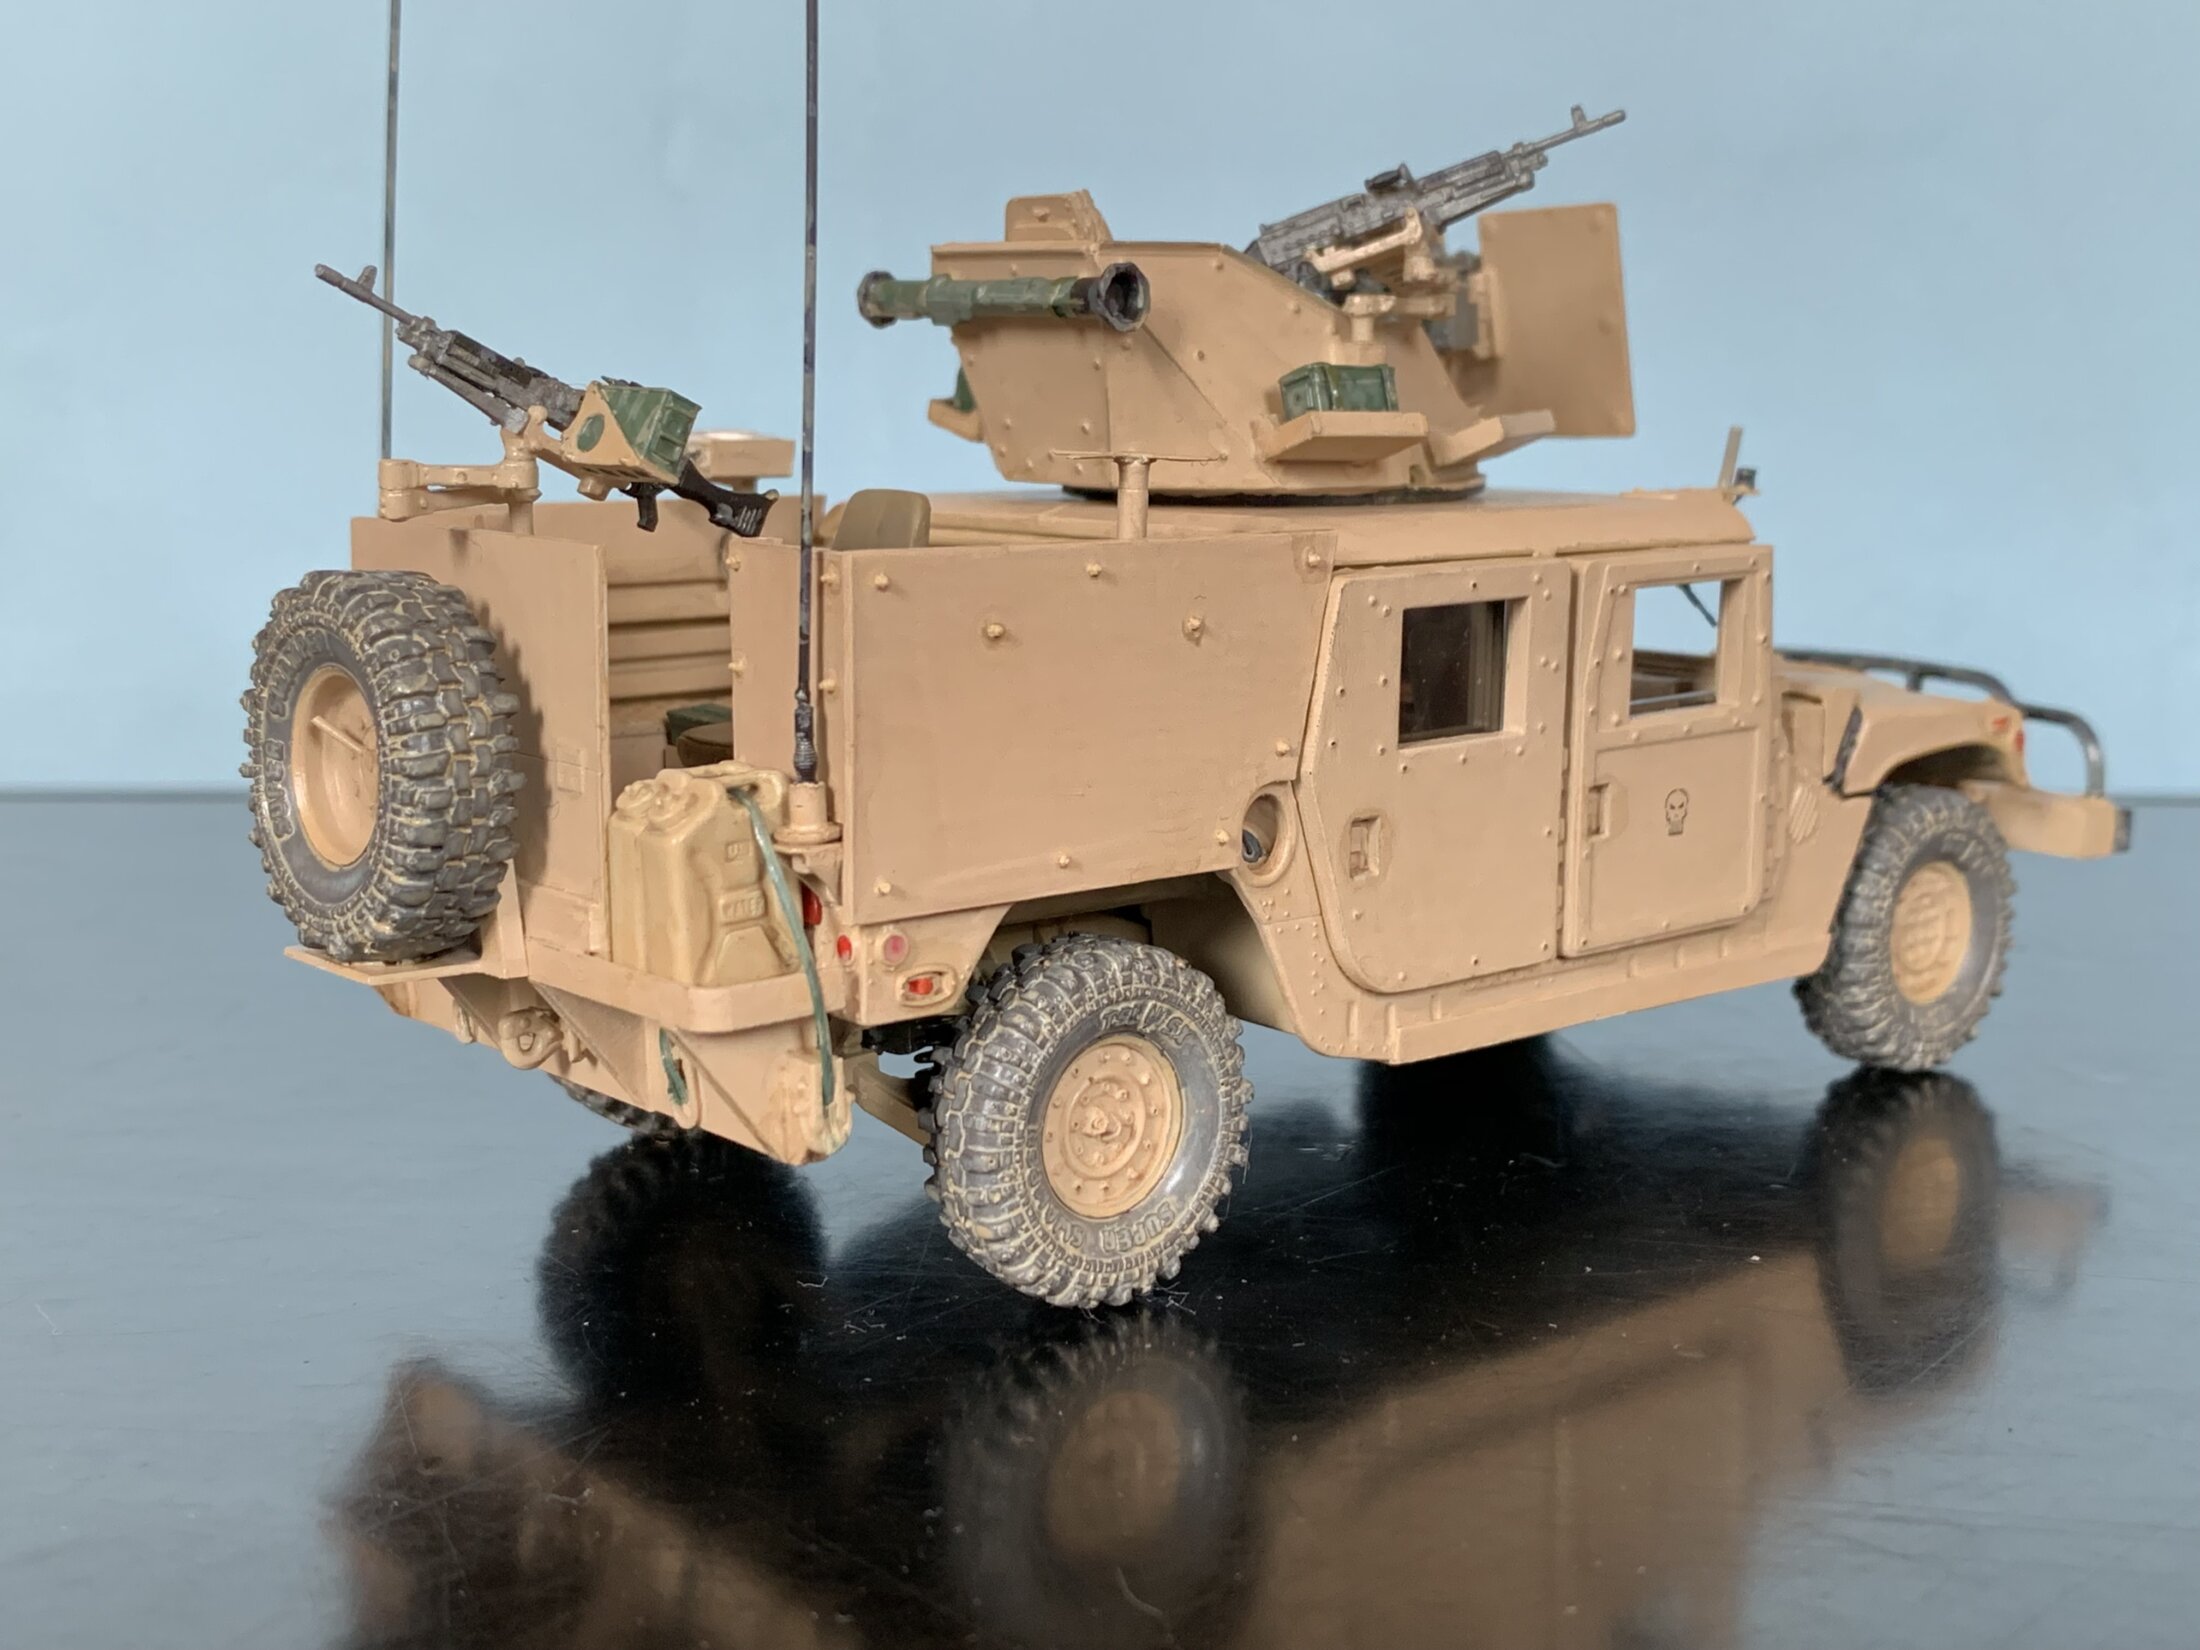
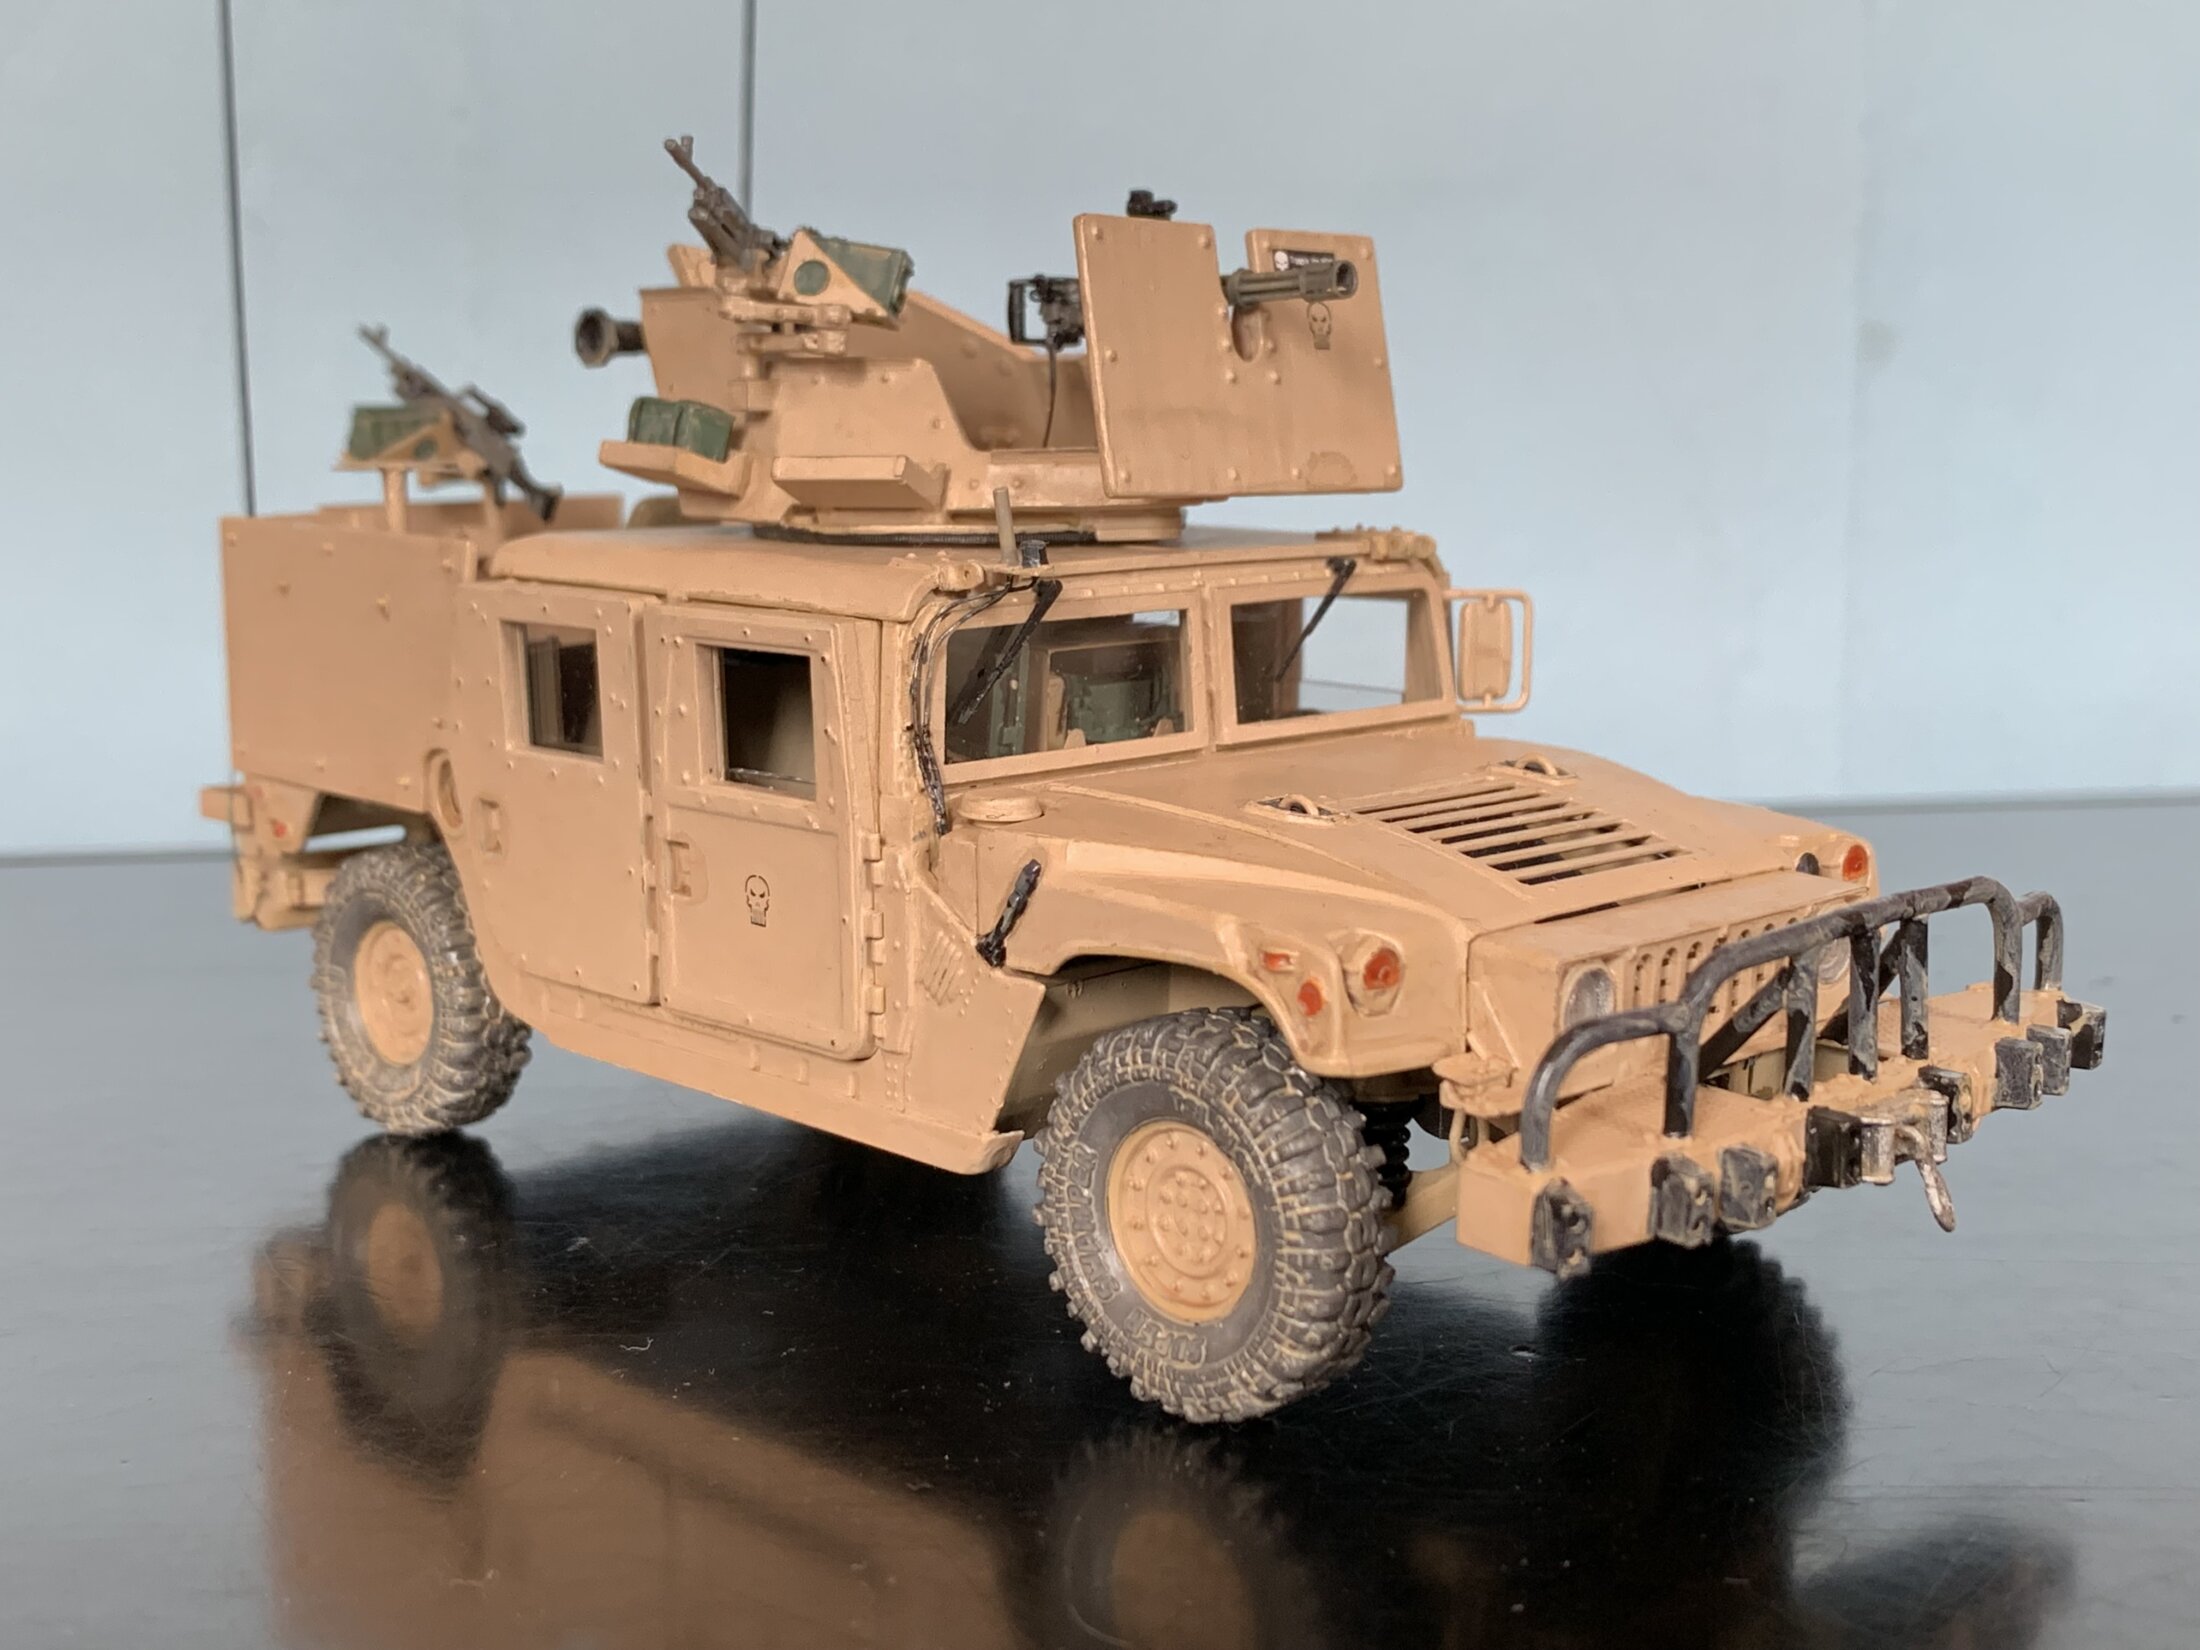
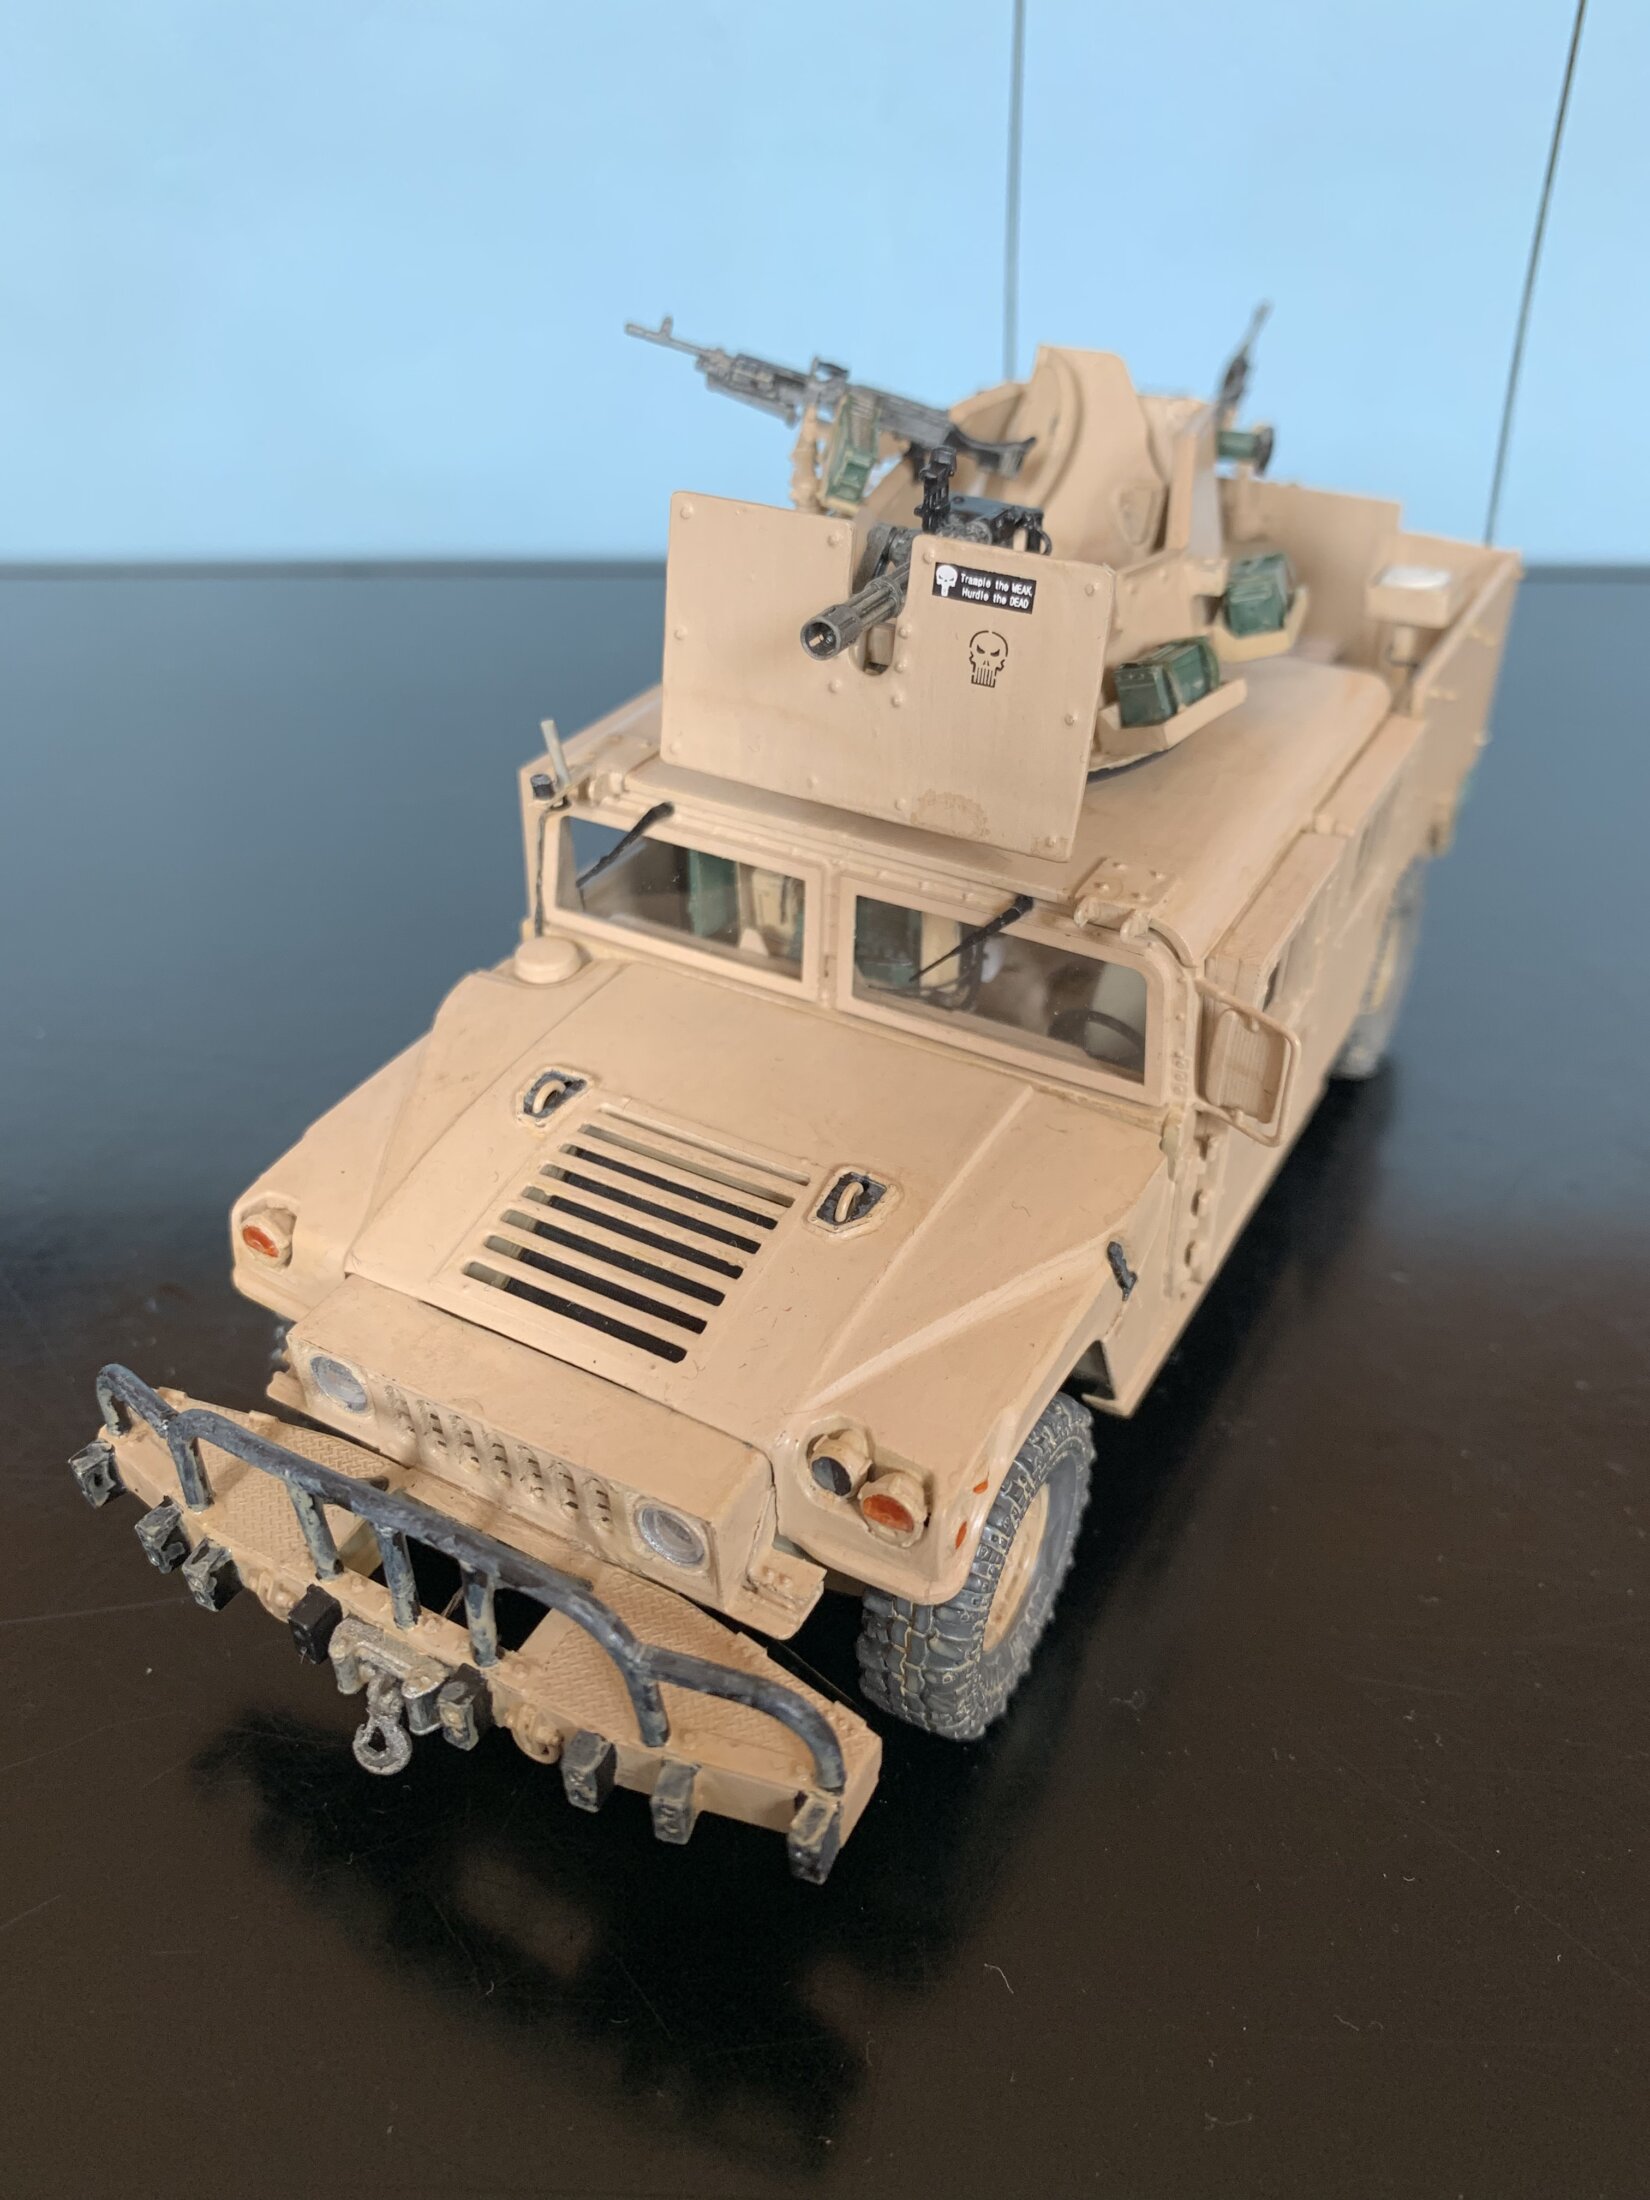
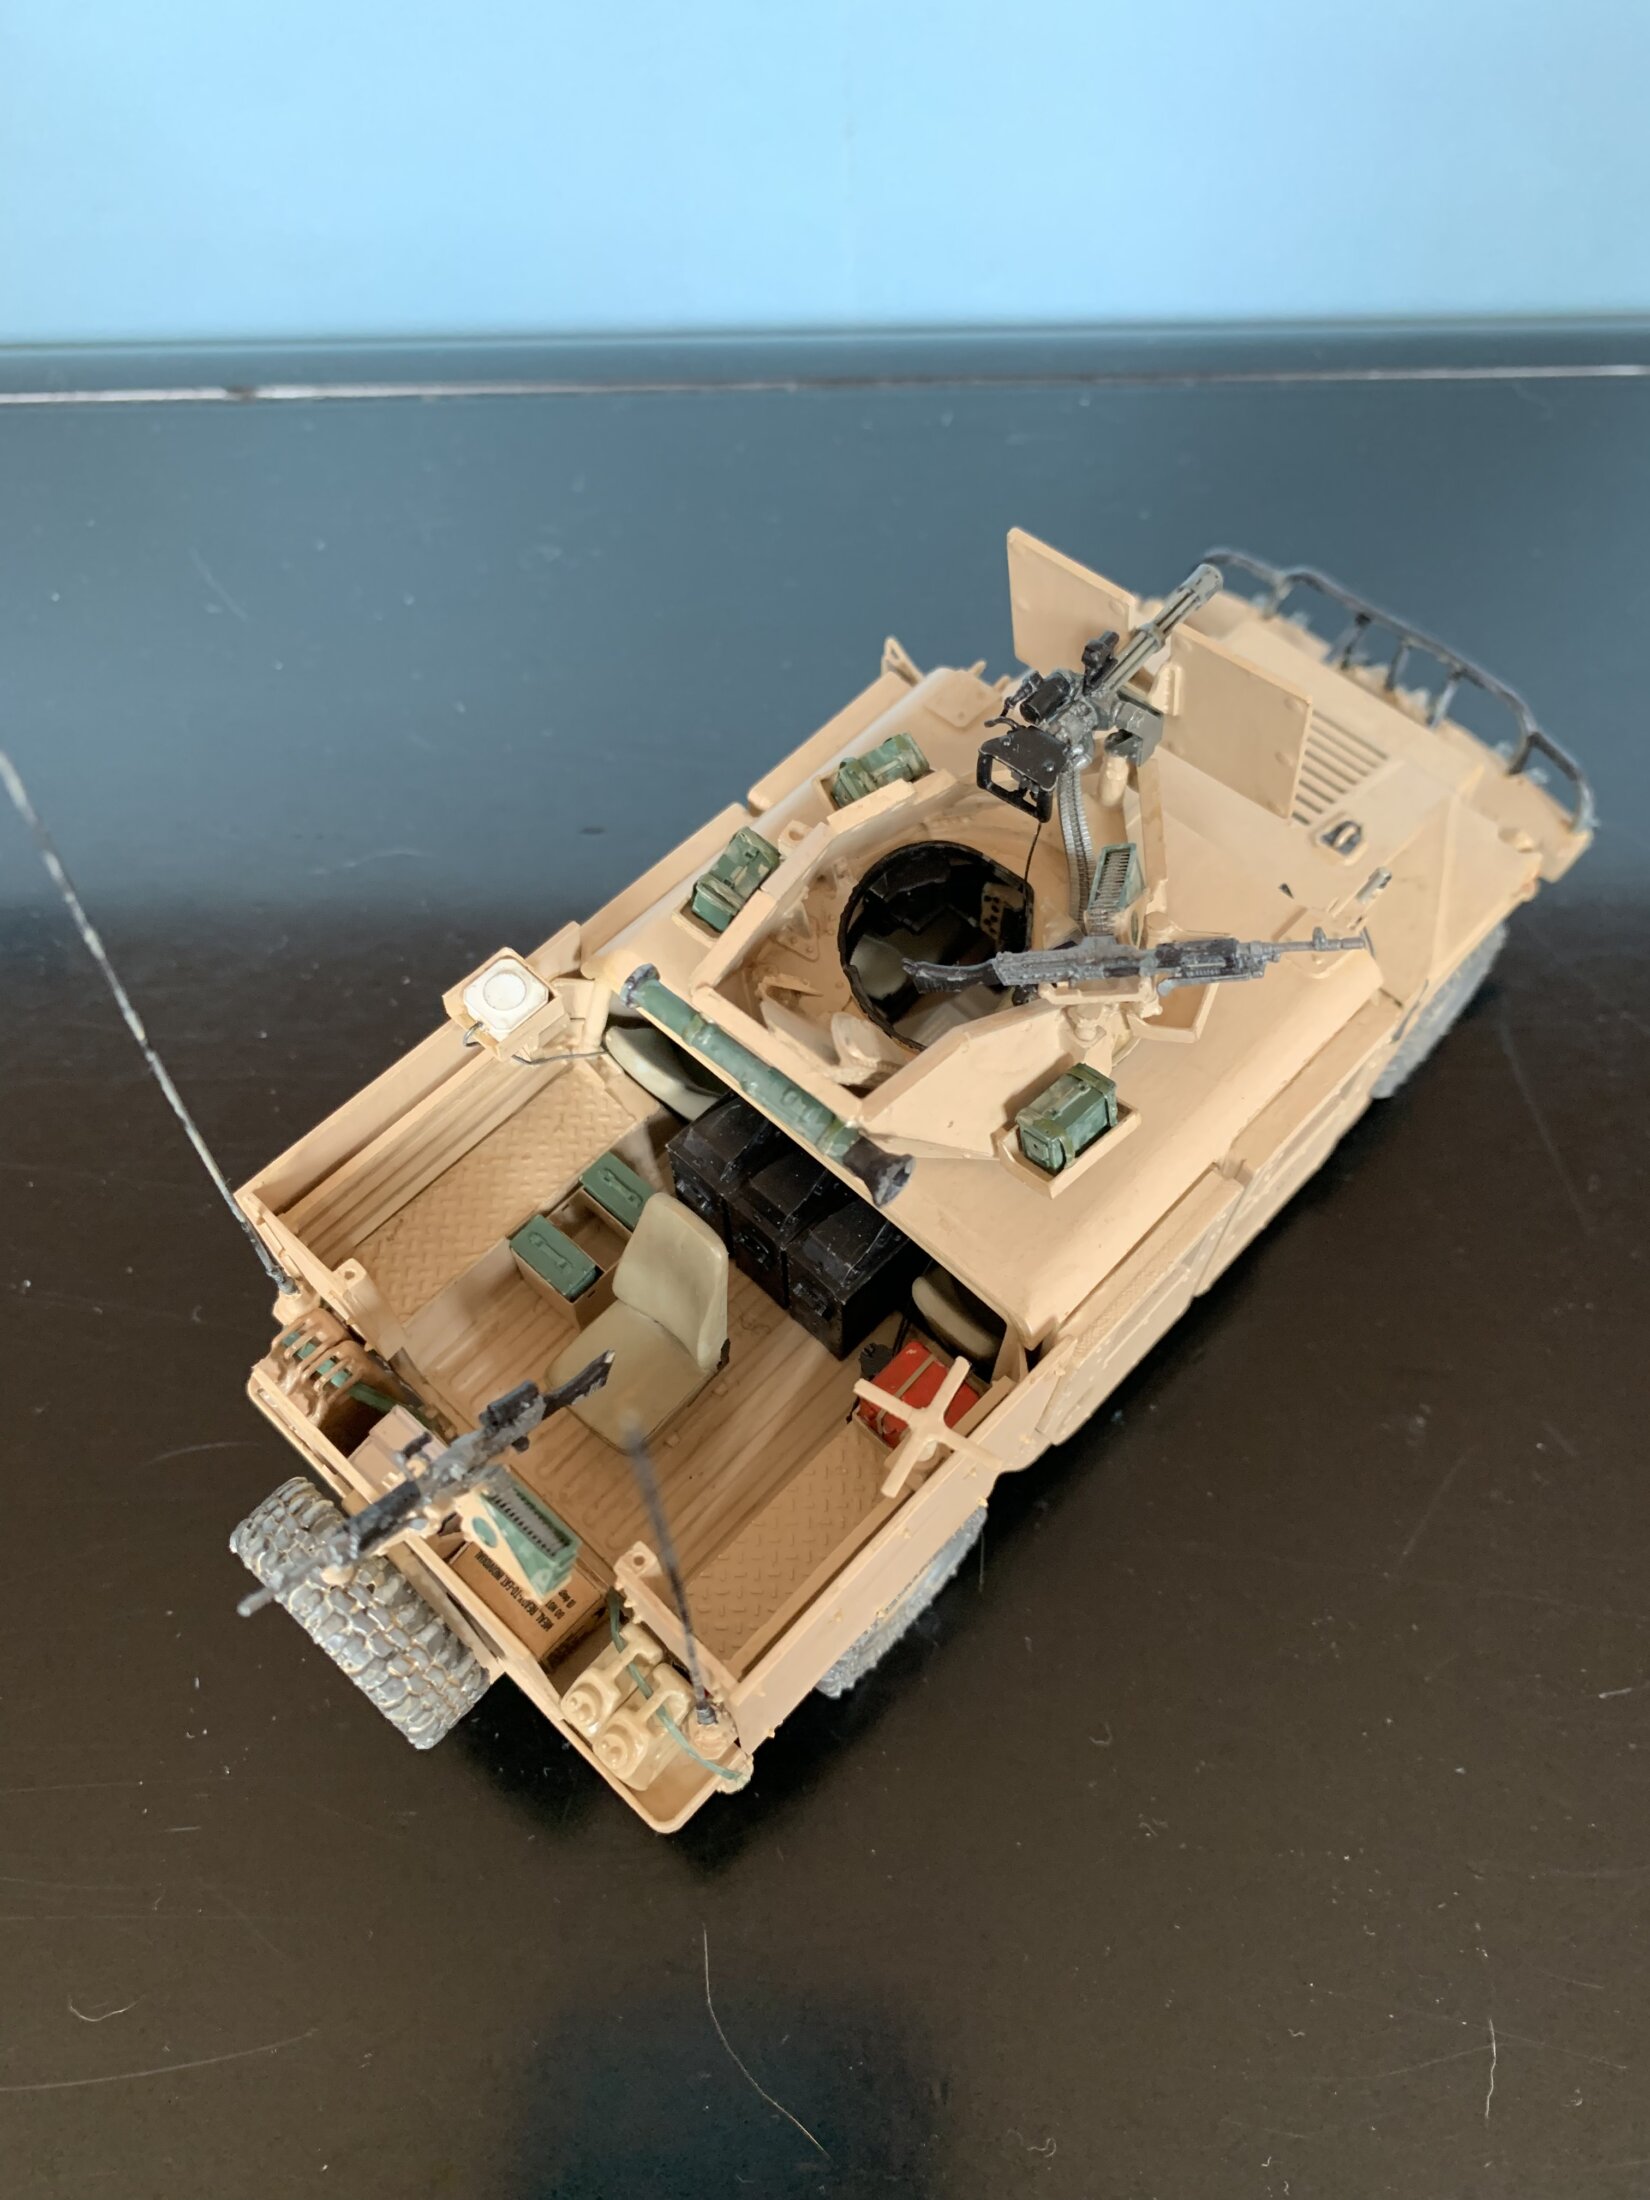
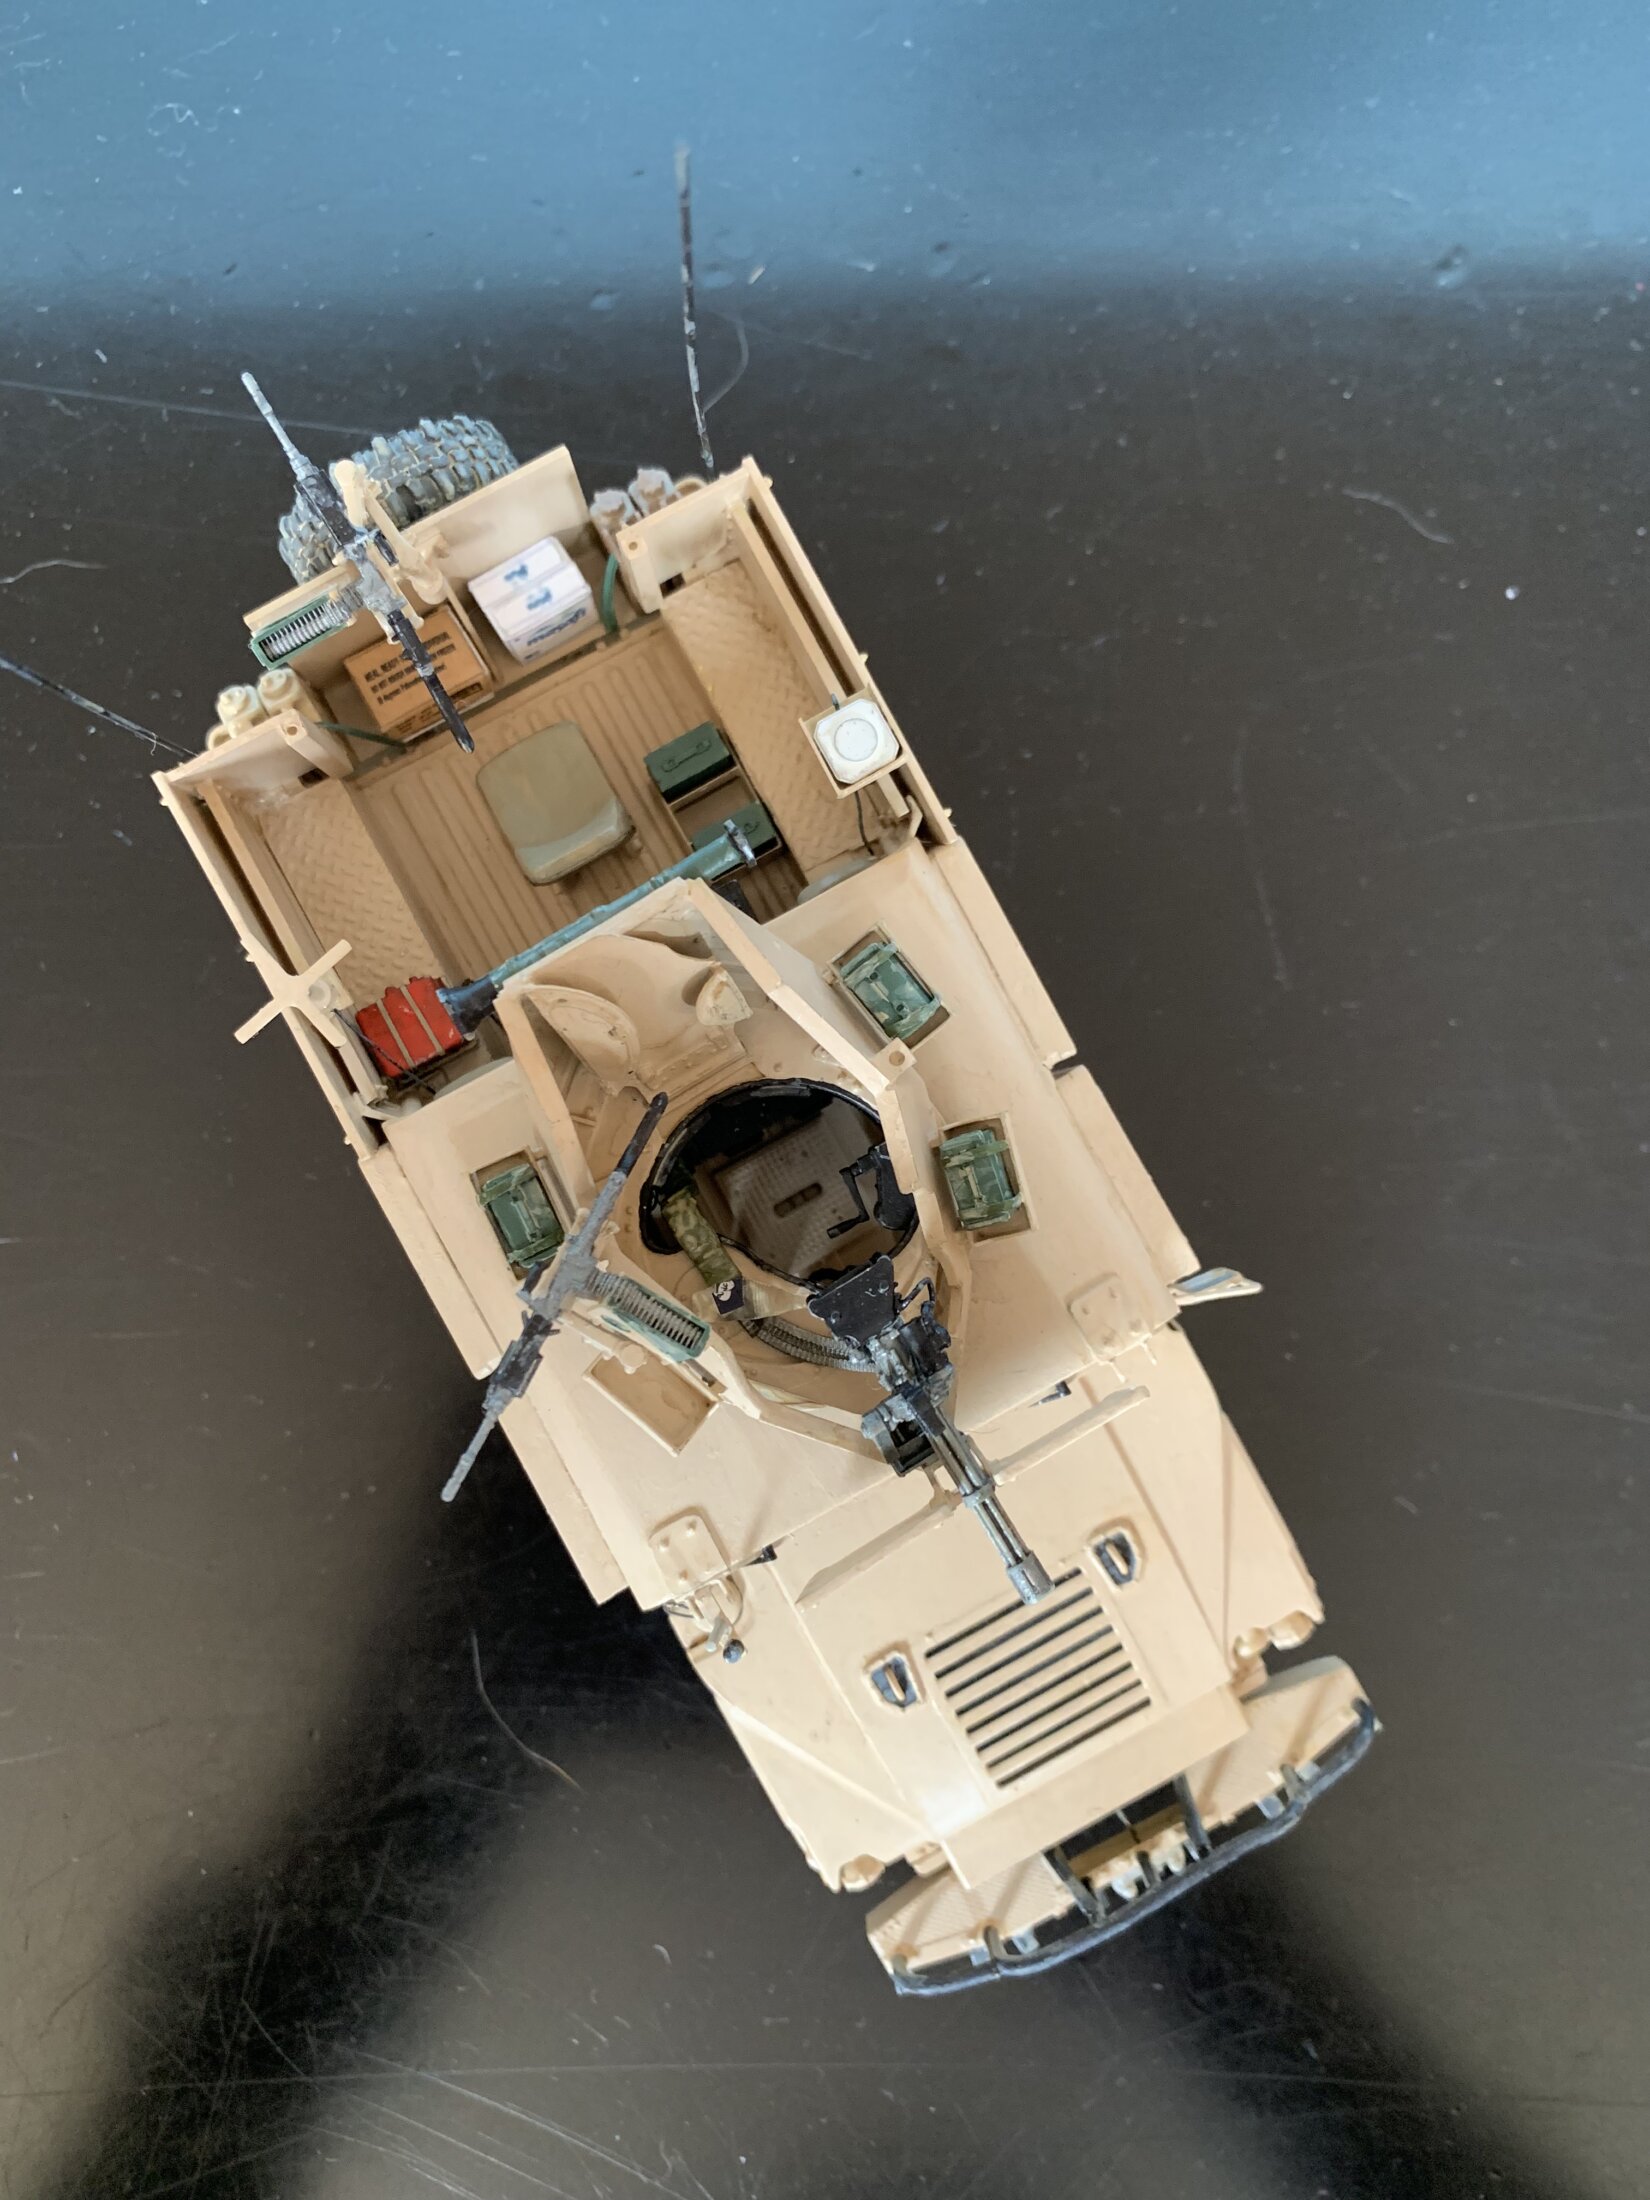
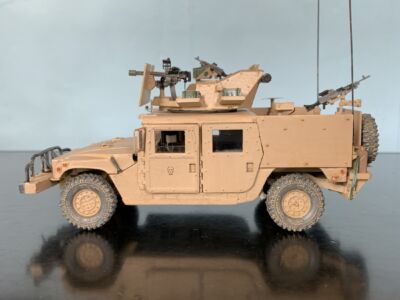
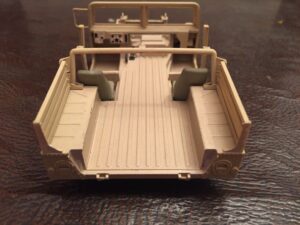
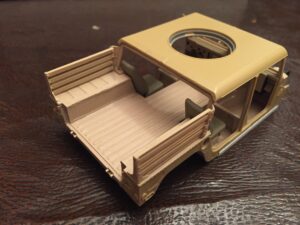
M1113 US Special Forces GMV
How to convert an M1025 by Tamiya, 1/35 scale,
into an M1113 GMV
with Priamide Models 3D printed parts
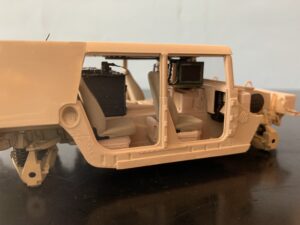
The model is based on the M1025 Tamiya kit (p/n 35263). 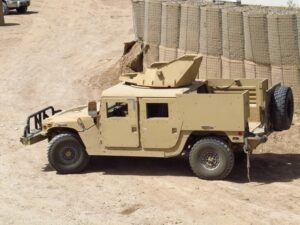
To replicate the US Army GMV model I had in mind (see picture), I used the Tamiya chassis, doors and bonnet as a base and then I added third party products and designed new parts to be 3D printed.
Third party products used
• Legend Productions “Humvee Interior Set” (LF1193)
• Legend Productions “Humvee Tow Bar & Ibis Tek Bumper” (LF1195)
• Voyager Model “USMC HUMVEE Family High Back Seat” (PEA 234)
• Live Resin “S.A.G. turret” (LRE35151)
• Live Resin “Armor Turret Base” (LRE35152) 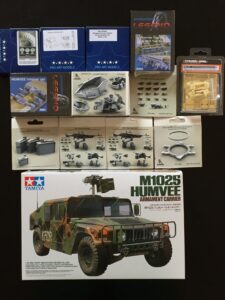
• Live Resin “M240B” (LRE35018)
• Live Resin “M134D” (LRE 35064) and “Spare 3000 Round Vehicle Magazines” (LRE35108)
• Live Resin “US Army Scopes Set #2” (LRE35008)
• Samofalov HMMWV front radiator grill (on Shapeways)
• Pro Art Models “Super Swamper Wheels”
• Pro Art Models “Special Forces Communication Set”
• Pro Art Models “US Radio Set SincGars”
In addition I designed and 3D printed at Shapeways the following parts:
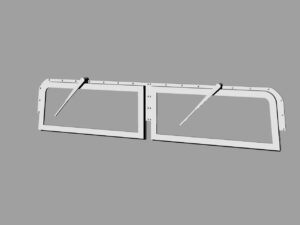
- M1113 armored windshield
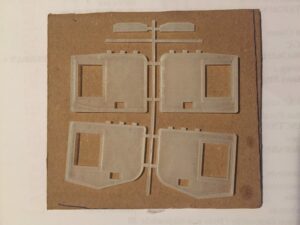
- M1113 GMV armored doors
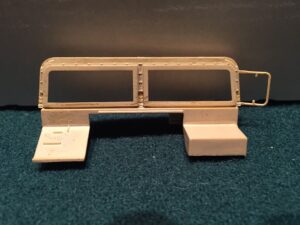
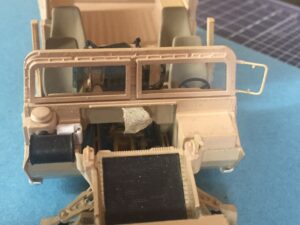
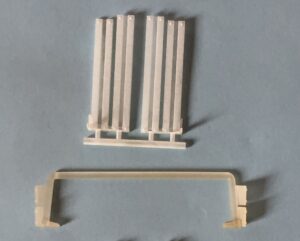
- Rollbar and side rails for GMV
- GMV Airlift Rear Bumper with Cargo Bed
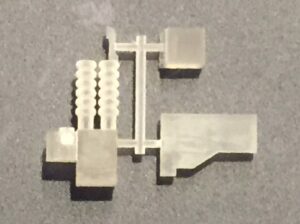
- M1113 GMV heater boot and ducts
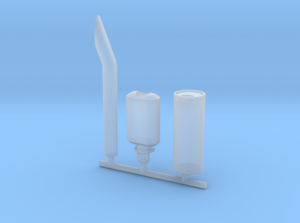
- M1113/M1114/M1151/M165 muffler and catalytic converter
All the above listed 3D printed parts are now available for purchase, under the brand name “Priamide Models”; see here for more info on Priamide Models 3D printed parts.
History of Construction
In the following I share a few highlights of the construction steps of this M1113 GMV, mainly focusing on the parts I designed to convert the M1025 into an M1113.
Exhaust system
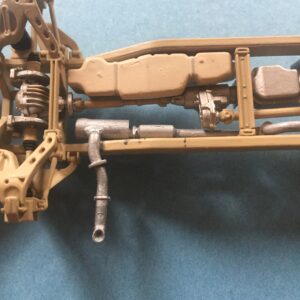
Among the many differences from the M1025, the M1113 has a new exhaust system, consisting of two parts, a catalytic converter and a muffler. The same exhaust system is used in the M1114, M1151, and M1165.
Note that the Bronco M1114 model includes the correct exhaust system, while the Academy M1151 model does not.
I designed the correct parts needed to replace the ones included in the M1025 kit and then 3D printed them at Shapeways.
I added the exhaust pipe from the M1025 kit and attached it to the chassis of the vehicle.
Rear bumper
Rear bumper is another difference in the M1113 from the M1025.
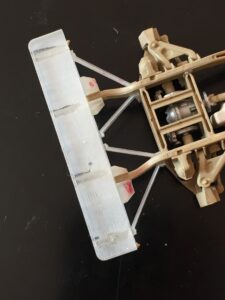
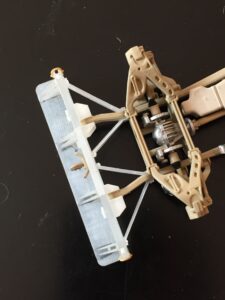
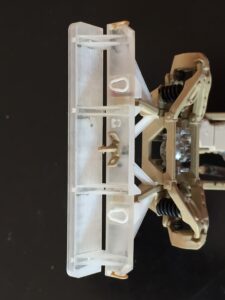
I have 3D designed the correct bumper and the four arms that connect the rear bumper to the frame.
In addition I have also 3D designed the cargo bed attached to the bumper.
Tow hook is from the Tamiya kit.
Remember to remove the “X” shaped arms from the Tamiya model, because they are not present in the M1113 and in HMMWV later models.
Armored doors
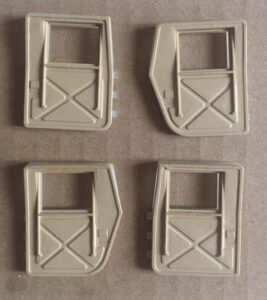
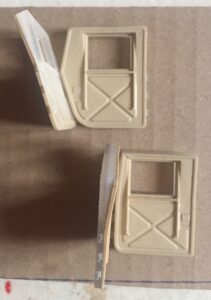
As far as I understood, the GMV M1113 doors have an armor plate bolted onto the M1025 doors and reinforced hinges to support the increased weight of the door.
I designed the armor plates and the new hinges, then 3D printed these new parts at Shapeways. I glued the armor plates onto the Tamiya doors and here is the result.
Windshield
Here is another difference from the M10125.
The M1113 model features a windshield that supports bulletproof glass, thicker than the M1025 glass; I designed and 3D printed a new windshield glass frame which I then glued over the Tamiya wind shield.
Heater boot and ducts
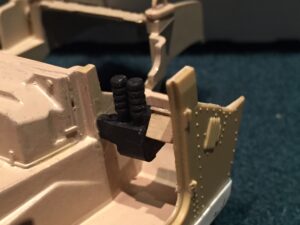
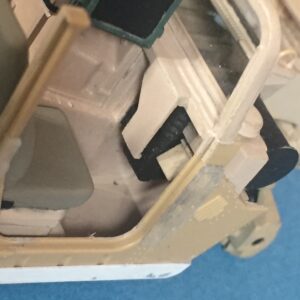
Another difference from the M1025 is the heating/ventilation system; in front of the passenger seat there is a heater compartment and large ducts, protected by a metal plate. I also designed and 3D printed these parts.
Rollbar and side rails
M1113 GMV has an open cargo area with side rails.
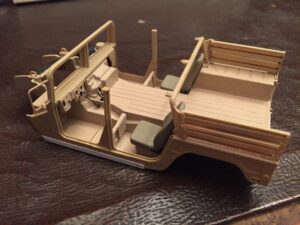
I cut the rear part of the M1025 roof and added a roolbar and side rails that I designed and then 3D printed.
Final assembly
The model was ready for final assembly. I designed and added the GMV Airlift Rear Bumper with Cargo Bed, built the cargo armor walls from scratch with polystyrene sheets, added the IbisTEK front bumper, the cargo compartment seat for the rear gunner and various antennas.
Finally, the SAG (“Save A Gunner”) turret with the M134 minigun and an M240.
Model completed in February 2020
